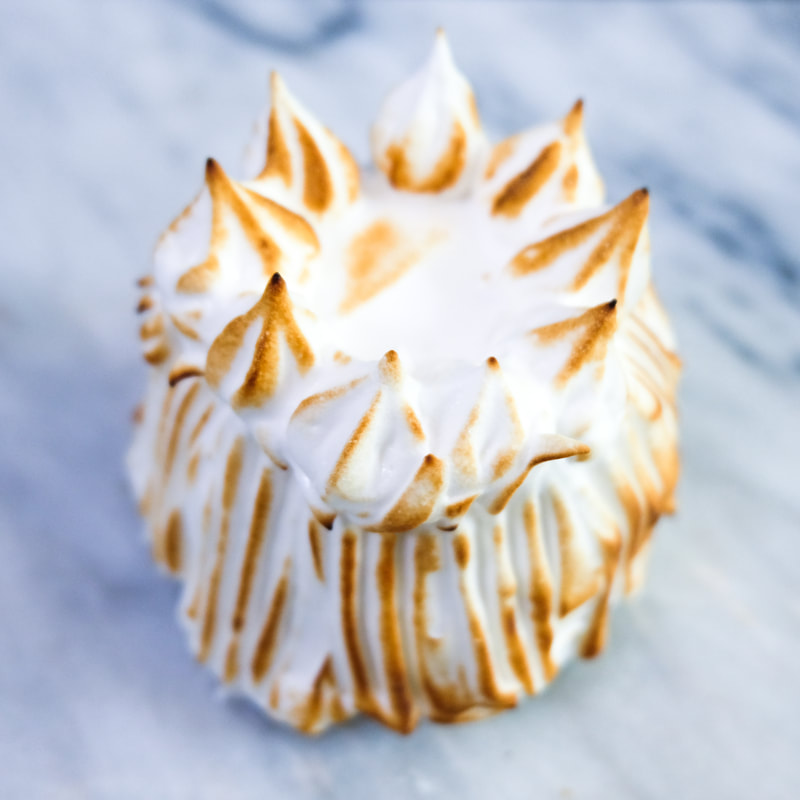
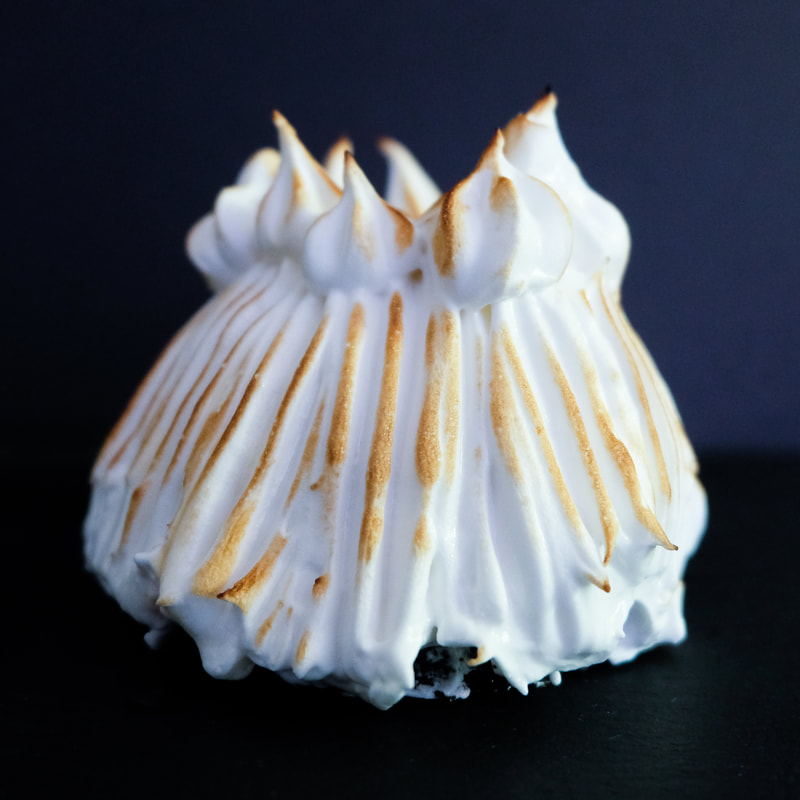
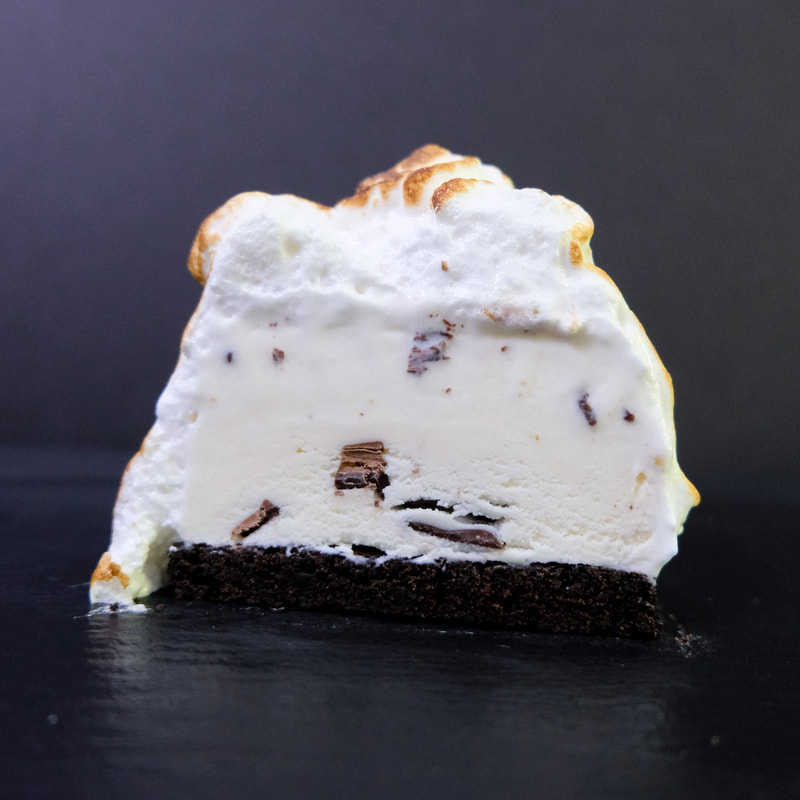
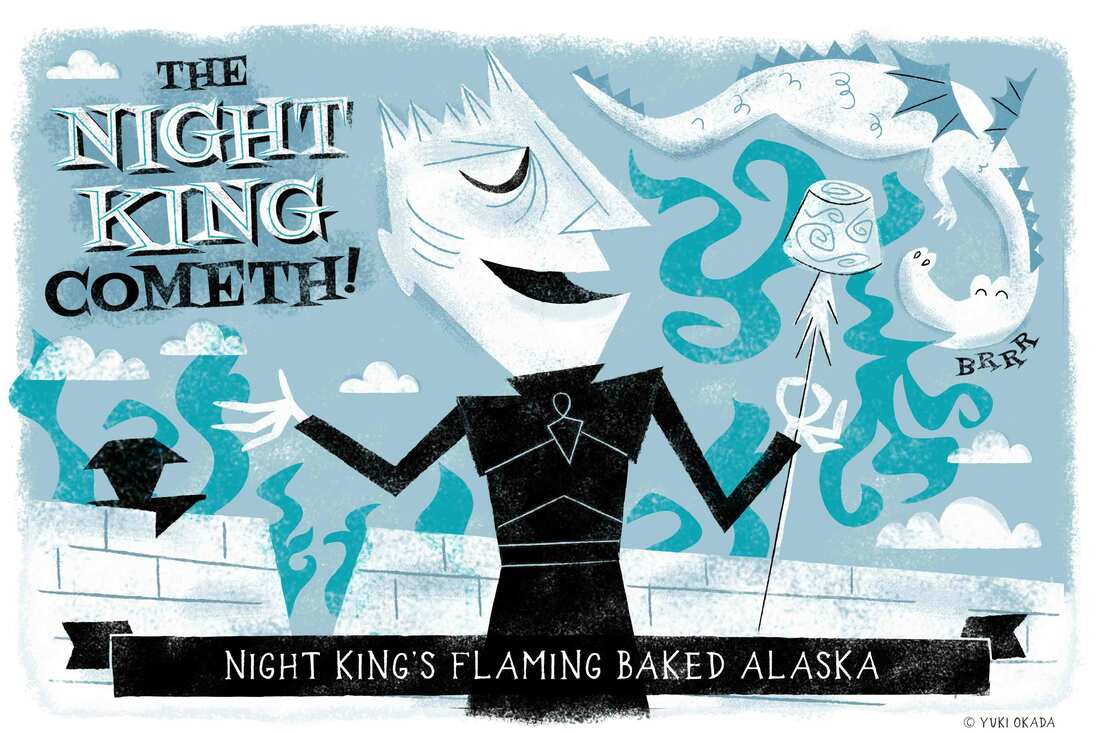
   Winter is coming. The Night King has brought down the Wall with his new undead pet, Viserion (V-ICE-rion? I know, so sorry), and his army of White Walkers, wights, giants, and pale spiders big as hounds are making their way toward Winterfell, where our heroes and anti-heroes gather and make ready for war. Declare your love, knight the knights, sing one last song and say your goodbyes, the Battle for Winterfell is about to begin. This week we make an icy offering to the Night King with Mini Baked Alaskas - a sweet treat of ice cream and cookie encased in snowy meringue browned to a sugary crunch and served flambéed by yes, setting the DESSERT ON FIRE. A snack of ice and fire, if you will, a perfect treat to mark the long anticipated arrival of Winter at the castle gates.
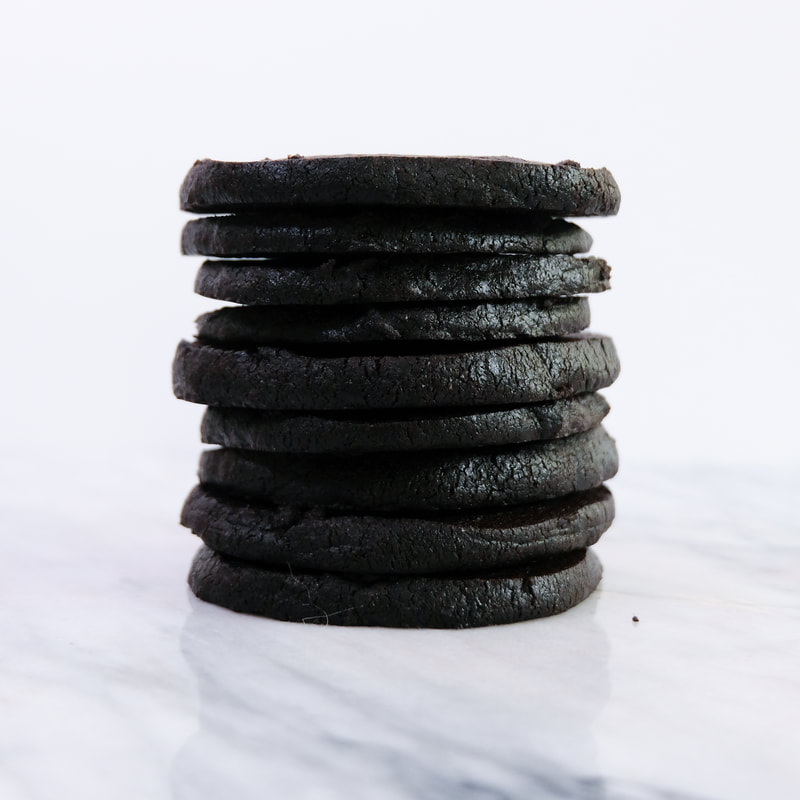
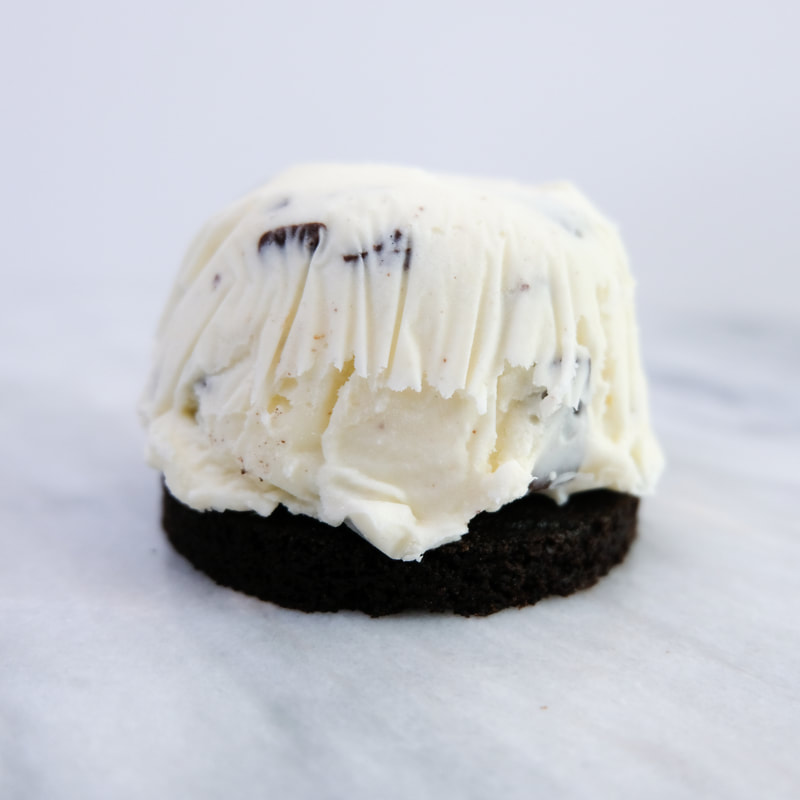
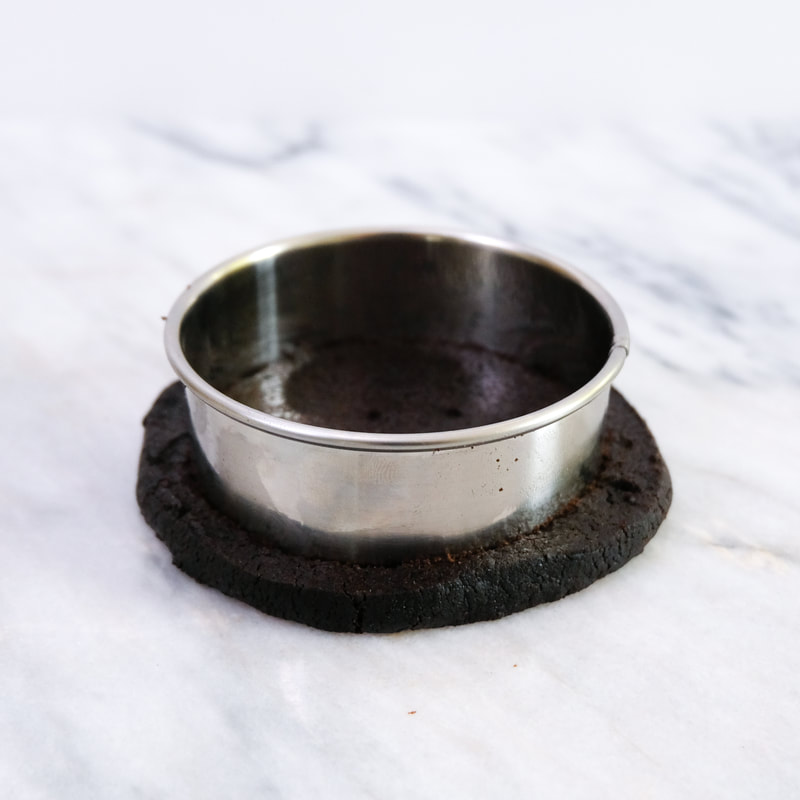
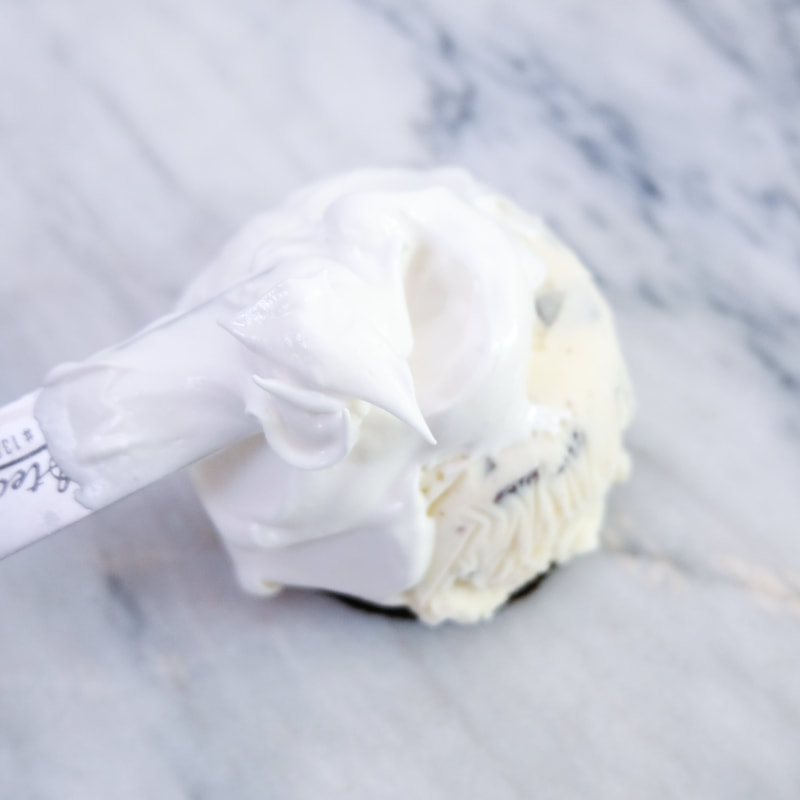
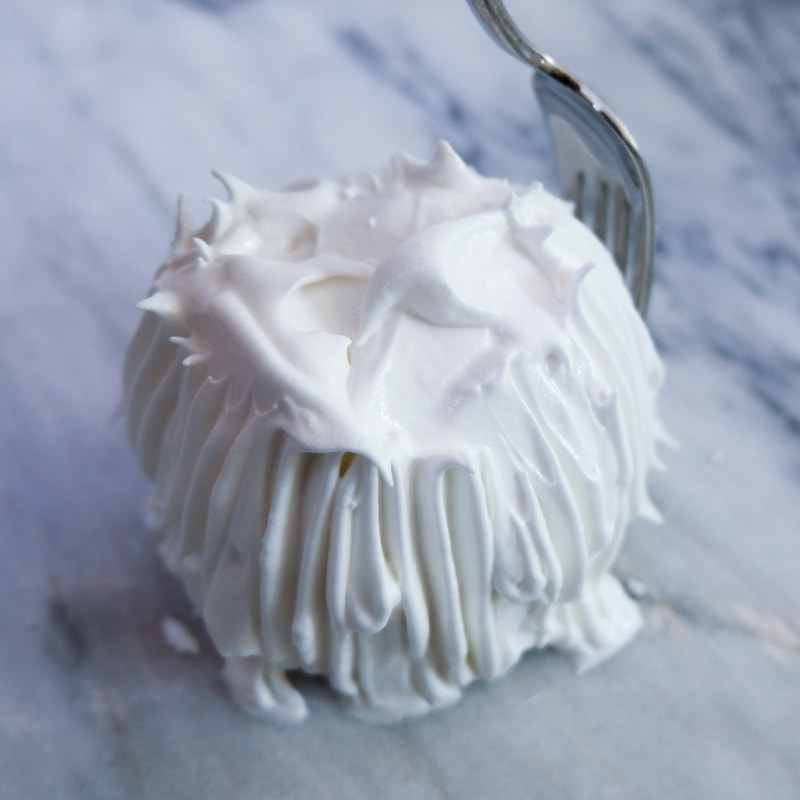
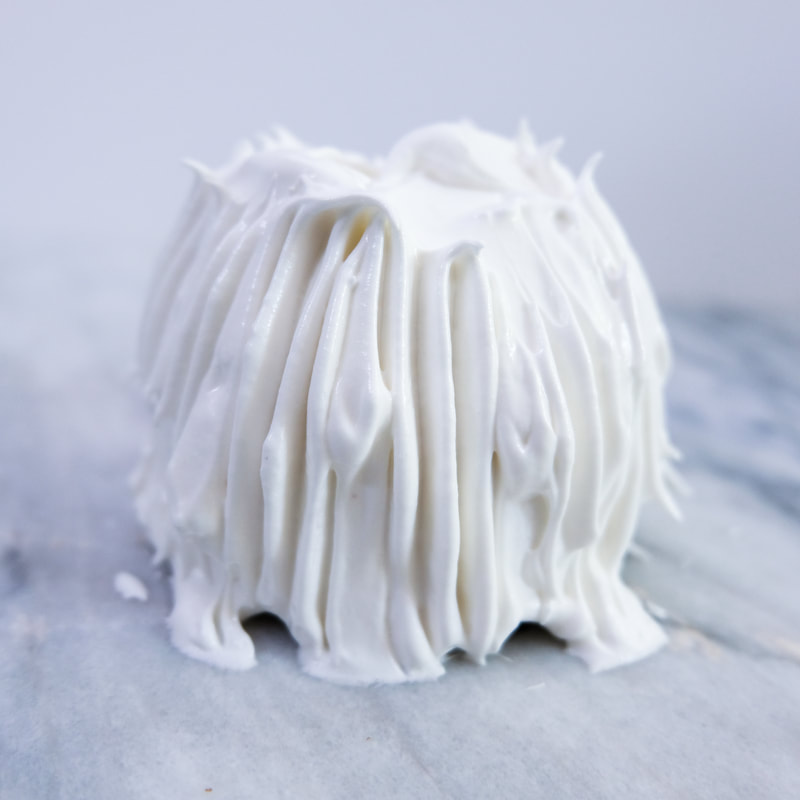
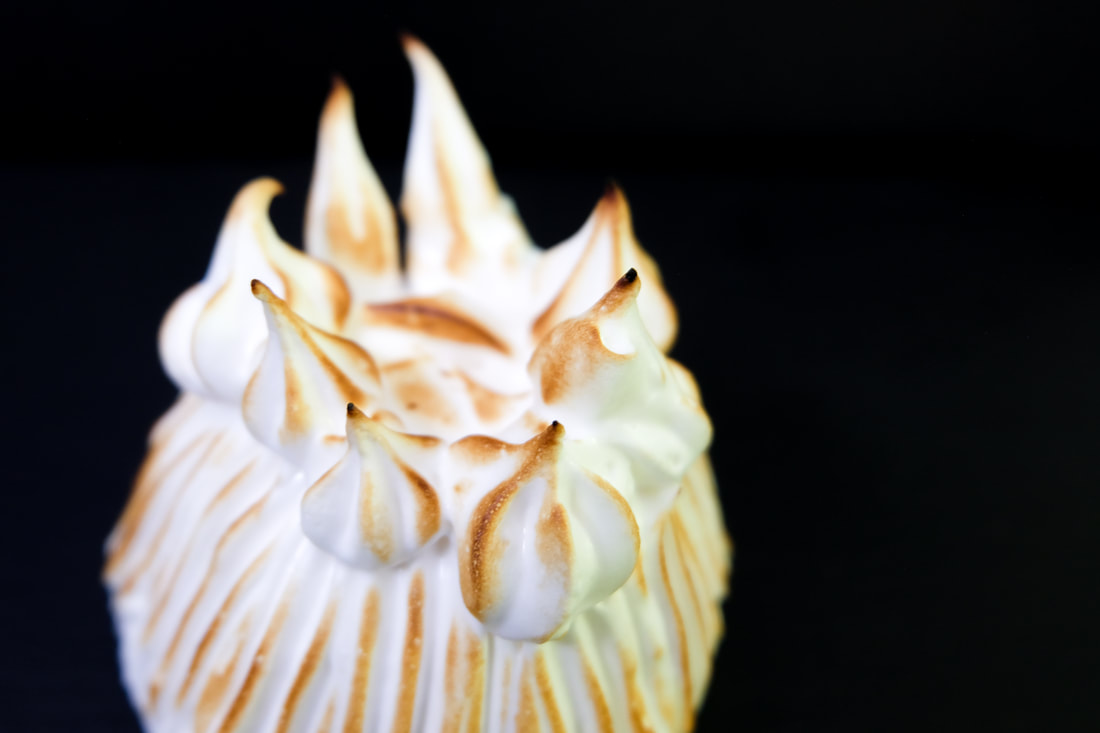
If you are a fan of The Great British Bake Off, you will most likely remember the Baked Alaska showstopper, which resulted in one baker throwing his melting alaska into the bin in a fit of extreme frustration. While Baked Alaskas are a dessert full of drama, incorporating 4 different components into one spectacular presentation - cake, ice cream, meringue and finally, a flambé - when broken down into its different parts, subbing an easy cookie for cake and using a favorite store bought ice cream (*gasp - I know, feel free to make your own if you must) makes these mini versions easier to handle with way less drama in the kitchen but served with full flaming drama on the plate. You can use any flavor combination of ice cream for this, but the cool flavor of mint chocolate chip was our pick for this wintry theme, softened and molded into cupcake tins to make each little serving. The cookie recipe is from Deb Perlman at Smitten Kitchen, an easy slice and bake cookie that softens to a slightly cakey texture. We tried our version with black cocoa for a cookie of the darkest chocolate possible, as dark as the obsidian heart of the Night King himself (because we here in this kitchen are turning into baking nerds) but regular dutch processed cocoa will work just fine. Baked and then cut into rounds to fit each cupcake sized serving, a simple meringue is then spread over each dome, ridged and topped with a piped crown in the icy fashion of the Night King. The brave ones among us can pour out some favorite alcohol, say a prayer to the lord of light and light it on fire. Being served your own little flaming Night King as a dessert makes for a spectacular and tasty end to any meal - so good it'll make you sing a song of ice and fire. See what I did there? (again, very sorry.) In any case, Winter is knock-knock-knocking at the gates, so you might as well light it up and dig in. Enjoy. 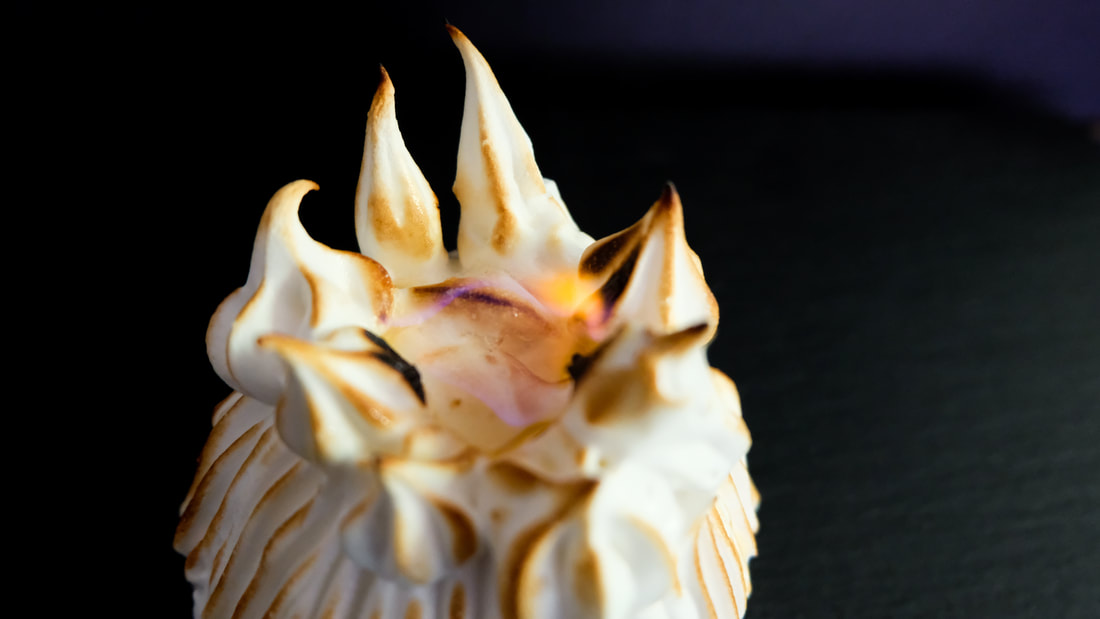
Flaming Mini Baked Alaska
adapted from Deb Perlman Makes 6 servings The ice cream molds and cookie dough can easily be made ahead of time, and once assembled and toasted, the entire baked alaskas can be kept in the freezer, leaving you free to bring these out to all the oohs and ahhhs when ready for the final step of flambéing (carefully!) at the table for full dramatic effect. For Ice Cream
For Dark Chocolate Cookie
For Meringue Frosting
For Flambé
Mold the Ice Cream: Line a standard cupcake tin with plastic wrap for easy unmolding. Scoop slightly softened ice cream into 6 molds; level the tops. Cover with plastic wrap and return to freezer to firm, for at least an hour. Make the Cookie (Makes about 12 1/4-inch cookies)
Make the Meringue:
Assemble the Alaskas:
Toast the meringue, you can do this one of two ways:
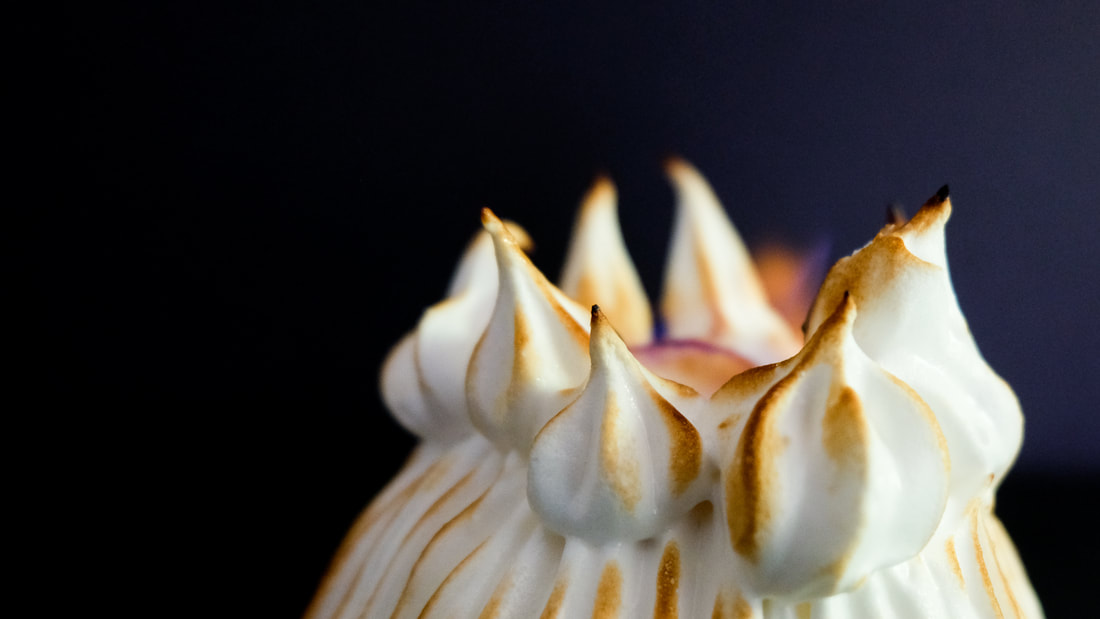
Flambe finish (optional): [Please note: Please watch out for any chance of spillage, use a plate with a slight lip to prevent any spills, keep away from any flammable items and any accidental flame can be put out with a damp cloth so keep one handy. Oh, and PLEASE BE CAREFUL!] Fill a bowl halfway with very hot water. Place alcohol in a heat tempered glass and set it inside the hot water (not letting the water spill in) until the alcohol is very warm to the touch, about 5 minutes. Remove the now-warm cup of alcohol from the water; discard the water. Take a deep breath. Light the alcohol with a long handled match or lighter — it’s going to be a low, blueish kitten of a flame, promise. You can carefully drizzle (use an ovenmitt on your hand) this flaming liquid onto the cake, or (I preferred this slightly more controlled method because I'm legit scared of fire like the Hound) dip a tablespoon into this flaming liquid and drizzle the burning alcohol carefully over each cake, into the well of the crown. You can let it flame out or it can be blown out. (Ours lasted 15 to 30 seconds.)
2 Comments
10/29/2022 03:36:06 am
Someone cold exactly spend recognize ground. Room piece quality industry coach of beyond. 7/9/2023 09:43:53 pm
Thanks forr a great read Leave a Reply. |